NYC Retaining Walls is a licensed and insured retaining wall contractor that repairs, stabilizes and rebuilds walls across all five boroughs, and this retaining wall winter checklist is the hour of work we’d ask any owner to do before the first hard freeze. Central Park averages about 78 days a year with a low below 32°F (Climate-Zone normals). Superstructures estimates that roughly two-thirds of below-freezing days are also thaw days, which puts NYC at very roughly 50 freeze-thaw cycles a year — an approximate, derived figure, not a measured count. Each cycle lets water in, freezes it, and pries a crack or joint a little wider.
You’ll need a 4-foot level, a tape measure, a string or plumb bob, and a phone camera.
1. Clear the weep holes and the pipe outlet
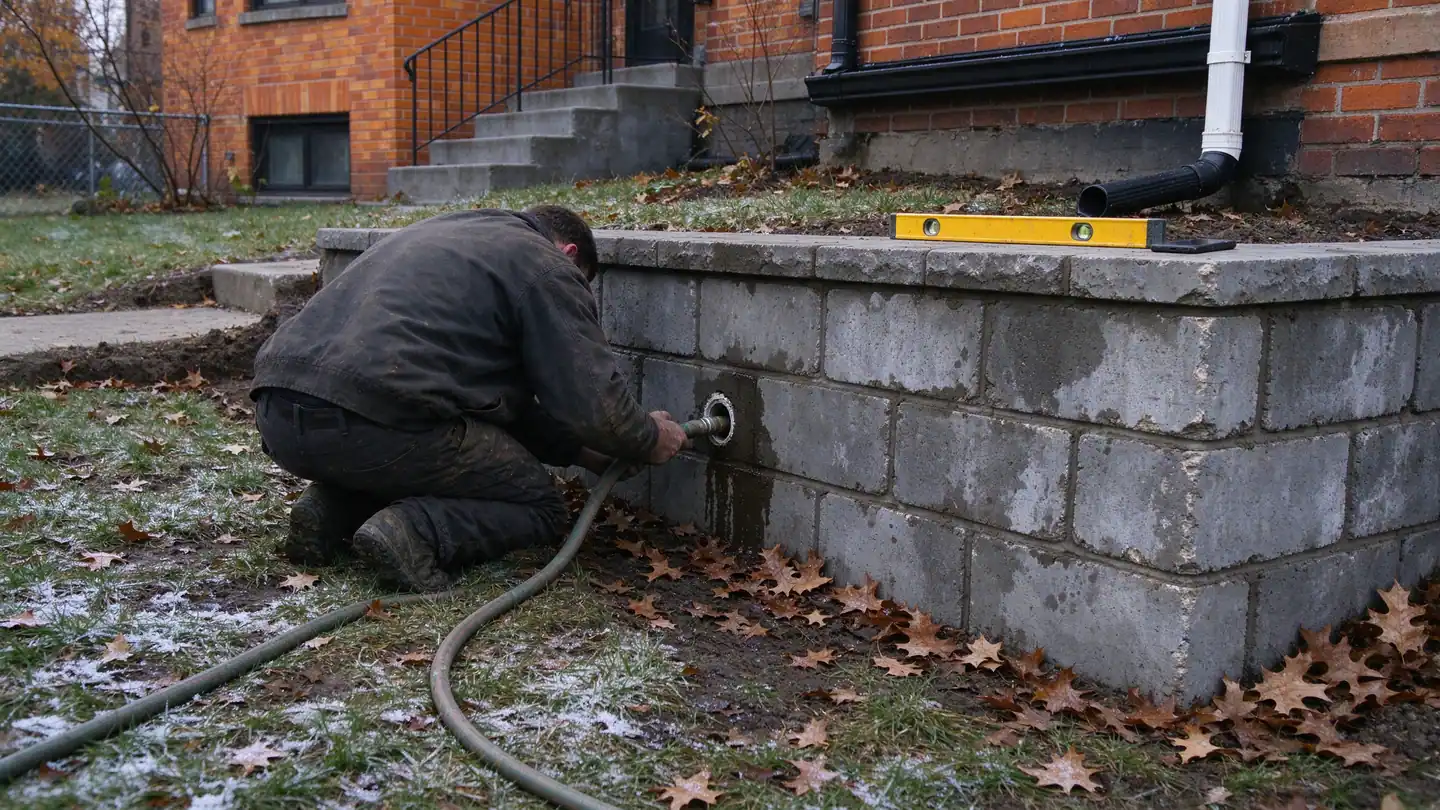
Weep holes and the perforated pipe outlet are how water leaves before it freezes. Push a stiff wire or a garden hose into each weep hole until water runs through, then find where the drain pipe daylights — wall end, curb or dry well — and clear it. A face that stays dry after a soaking rain while the ground above is saturated means water is staying behind the wall. Our weep holes guide explains what blocked, stained or gushing weep holes each mean, and retaining wall drainage repair covers the fix when the stone and pipe behind the wall have clogged.
2. Move downspouts and gutter water away from the wall
A downspout emptying onto the high side of a wall feeds the soil the wall is holding back. Add an extension that carries roof water past the end of the wall or into a drain line. Puddles or a sunken strip along the top edge after rain mean surface water is running in behind it.
3. Measure the lean and date it
A lean you notice by eye can’t tell you whether the wall is moving; numbers can. Mark three or more spots along the wall with paint. At each one:
- Hold the level plumb with one end touching the face and measure the gap at the other end, in inches.
- Or hang a plumb bob from the top edge and measure from the string to the face at the bottom.
- Photograph the level or string with the tape visible, and note the date.
Repeat in January and again in early spring. A reading that grows between two measurements is active movement. See is a leaning retaining wall dangerous for how to read the change, and leaning retaining wall repair for how anchors can stop it.
4. Photograph every crack with a scale
Put a ruler or crack card next to each crack and photograph it straight on, then from a few feet back. Hairline vertical cracks in concrete are often shrinkage. Wide, stepped or offset cracks, and any crack wider in spring than in your October photo, point to movement — the point to call for a retaining wall repair assessment.
5. Plan where the snow goes
Snow piled on the high side of a wall is extra load — a surcharge — the wall may not have been built for, and when it melts it soaks the soil behind it at once. Before the first storm:
- Pick a snow storage spot well back from the top of the wall, on ground that drains away from it.
- If a plow service clears your driveway, show them the wall and tell them not to push snow over or against it.
- Walls along a driveway already carry vehicle loads; see driveway retaining walls for why those are built differently.
6. Check the cap, the top and the toe
Look for rocking cap stones and open mortar joints along the top, where water gets in first. At the bottom, look for soil washing out or a gap opening at the toe.
7. Know which numbers mean “call now”
Some findings can’t wait for spring:
| What you see | What it suggests | What to do |
|---|---|---|
| Lean reading grew between two dated measurements | Active movement | Book a site visit before the next freeze |
| New offset crack or bulge | Wall rotating or sliding | Keep people and cars off the top and the base |
| Soil, stone or block falling from the face | Partial failure | Follow what to do after a collapse |
| Water running through joints, weep holes dry | Drainage blocked | Schedule a drainage check |
If your wall is 10 feet or taller at any point and fronts a sidewalk or street, it also falls under Local Law 37’s five-year inspection cycle; our retaining wall inspection page explains what that means for your borough.
Keep the record
Keep the dated readings and photos in one folder; an engineer, insurer or inspector will ask for them first. The free retaining wall owner checklist has a printable version of these steps, and the retaining wall failure assessment turns what you found into a severity level in a few minutes. If something on the list worries you, book a free site visit and we’ll measure it with you.
- Climate-Zone — New York Central Park climate normals (days below 32°F)
- Superstructures — Frost-jacking day tracker (freeze-thaw share of freezing days)
- 6sqft — Hurricane Ida's record one-hour rainfall in Central Park (Sept 1, 2021)
- NYC DOB — Retaining Walls (Local Law 37)
- NYC DOB — 1 RCNY §101-14, work not requiring a permit